How Can We Help?
Word Template
Step 1: Create a Word Template
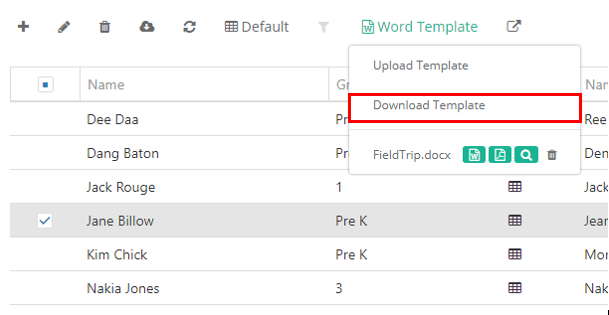
1. Go to form entries.
2. Click on Word Template > Download Template.
Step 2: Enable the Developer Tab
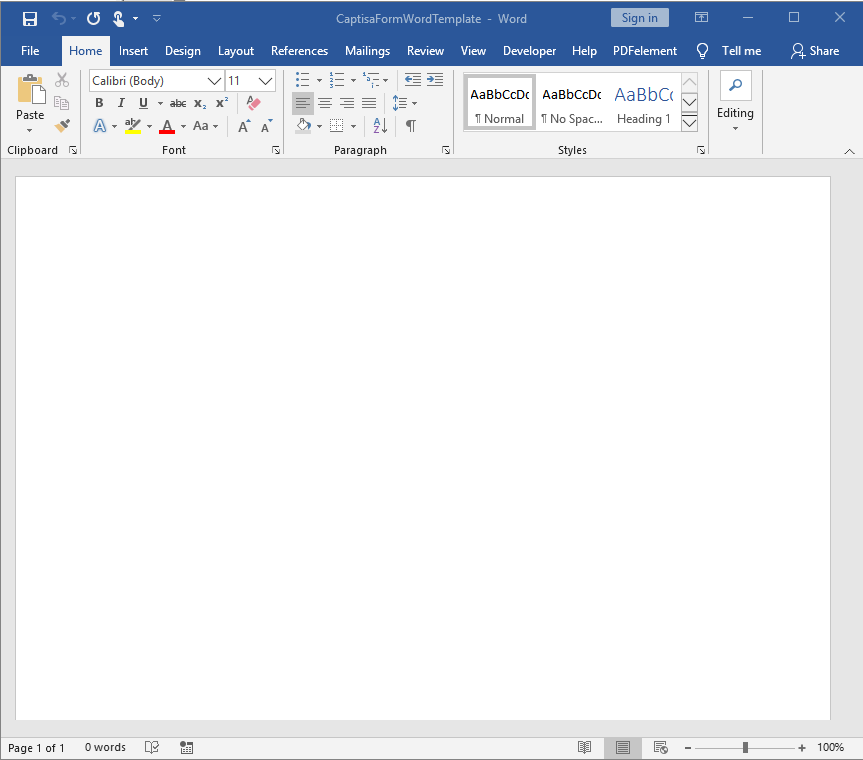
1. Open the Word template file. At this point, the document appears to be blank.
2. Go to File > Options > Customize Ribbon, and then enable Developer.
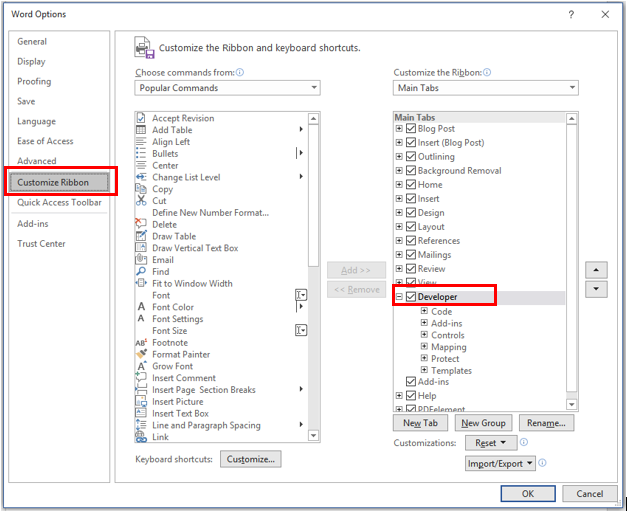
3. Click OK.
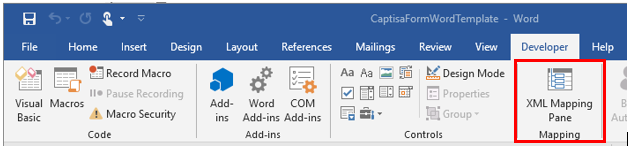
Developer now appears in the Word ribbon
Step 3: Define the Word template
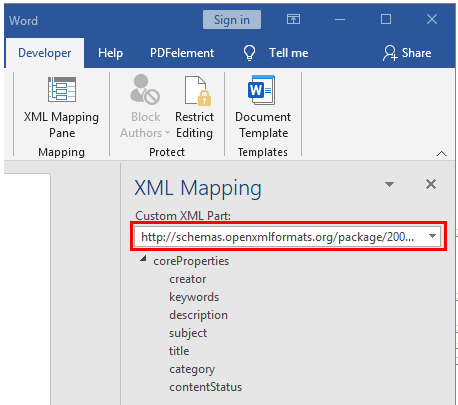
1. In your Word template, click Developer > XML Mapping Pane.
The default XML Schema is selected
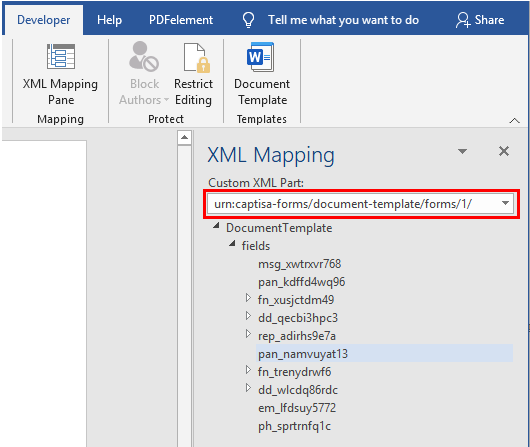
2. Select Captisa Forms XML schema – “urn:captisa-forms/document-template/forms/1/”
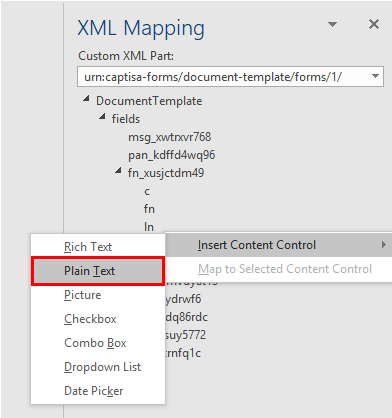
3. Expand Document Template, right-click the form field, and then click Insert Content Control > Plain Text
4. The form field is added to the Word template.

A completed template might look like this
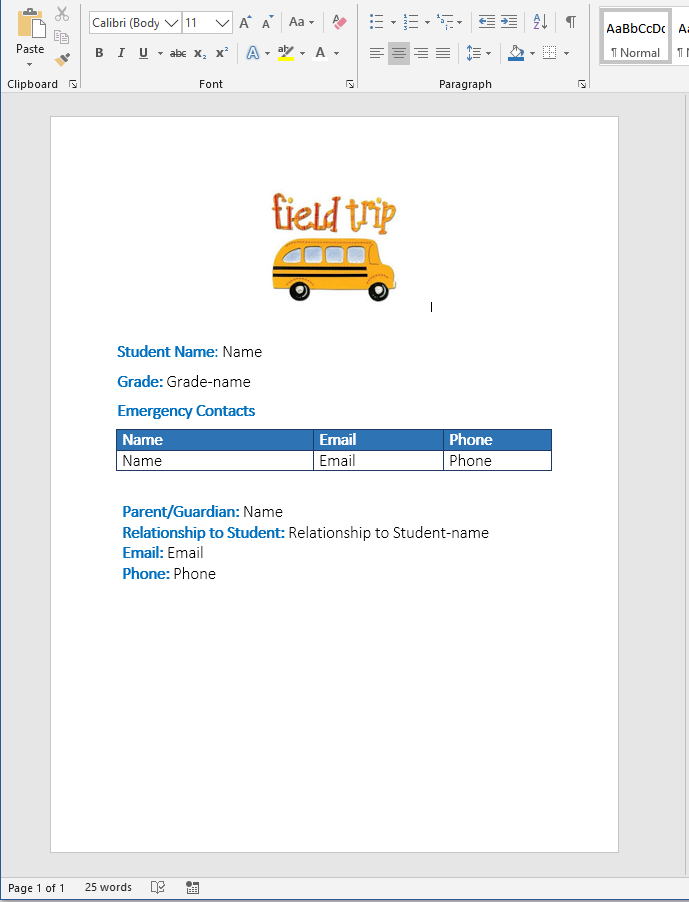
Your form might have repeating section. For example, student can have have more than one emergency contacts. To include all the data in your Word template, set the content control field to repeat.
Set form fields to repeat
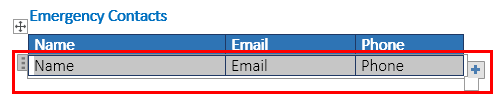
1. Put the form fields with repeating data in a table row
2. Select the entire table row in the table
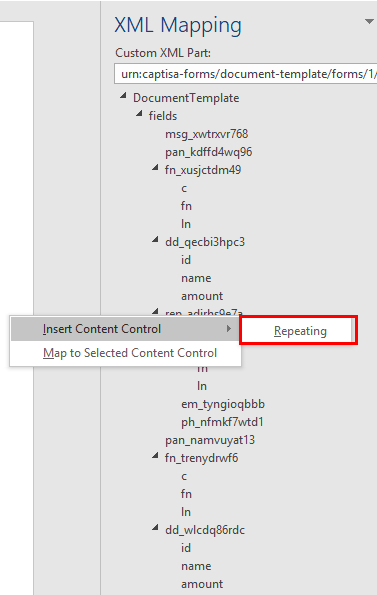
3. In the XML Mapping Pane, right-click the repeating section field, select Insert Content Control, and then click Repeating
Step 4: Upload the Word template back
When you have your Word template built the way you want, save it so you can upload it into Captisa Forms Cloud
1. Go to form entries
2. Click on Word Template > Upload Template
3. Select your Word template
4. Click Open
You are now ready view or download document
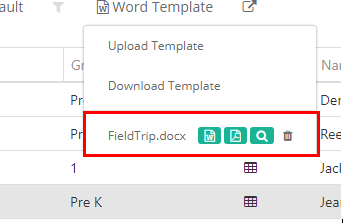
1. Go to form entries
2. Select the Word Template
3. Click Word or PDF to download the document, or View
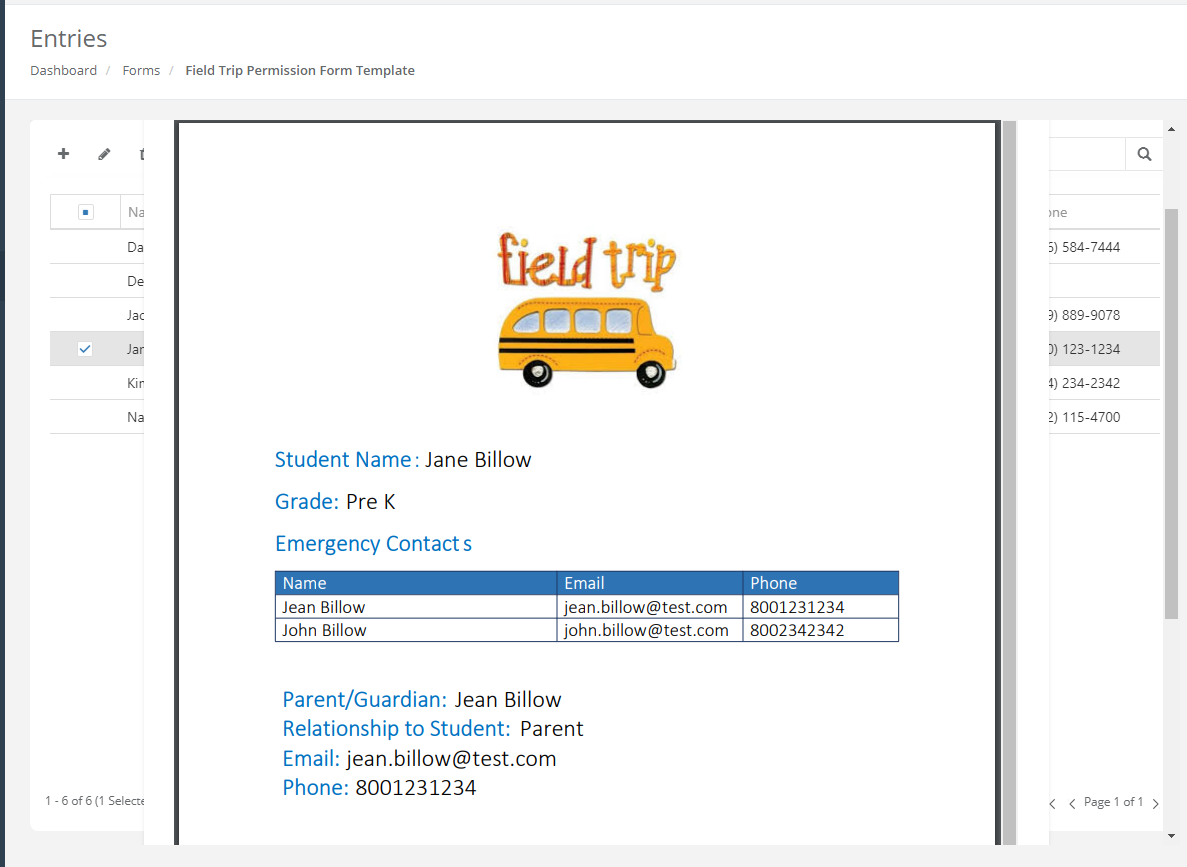
An example of PDF document
Attach generated PDF document to the email
It is easy to attach generated PDF document to the email.
1. Create a Workflow with an action of Send Email
2. In the Attachments field, Select 1 or more Word templates
A Workflow with generated PDF document attachment might look like this
